Our Four-Step Precision Installation Workflow
Installation Process
Step-by-step overview of how Marker Enterprises measures, fabricates, and installs your invisible grills.
Free on-site measurement and quotation across Chennai
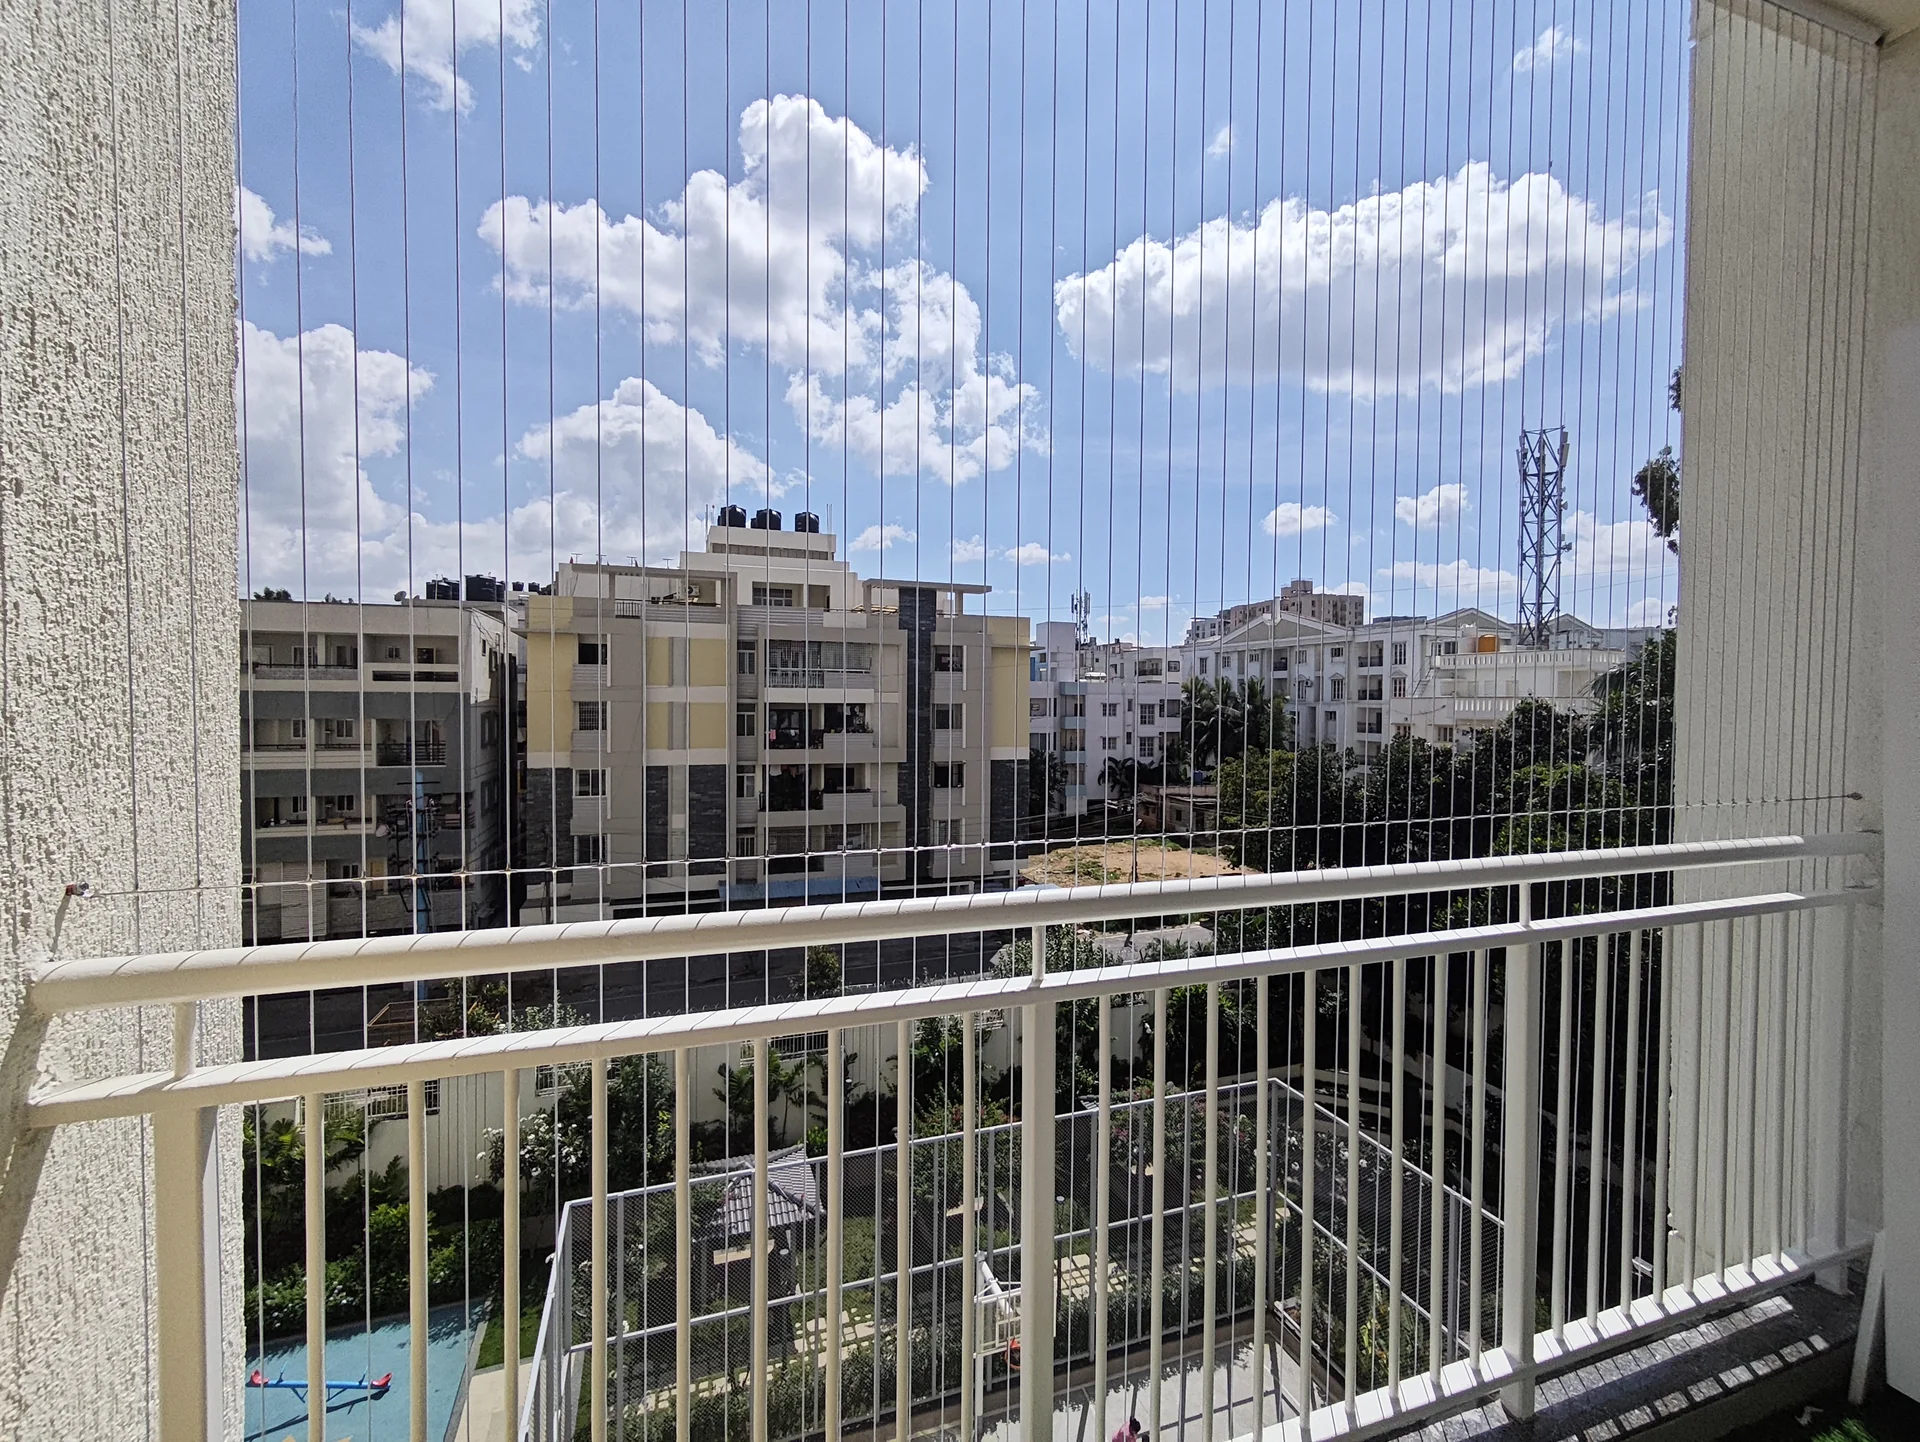
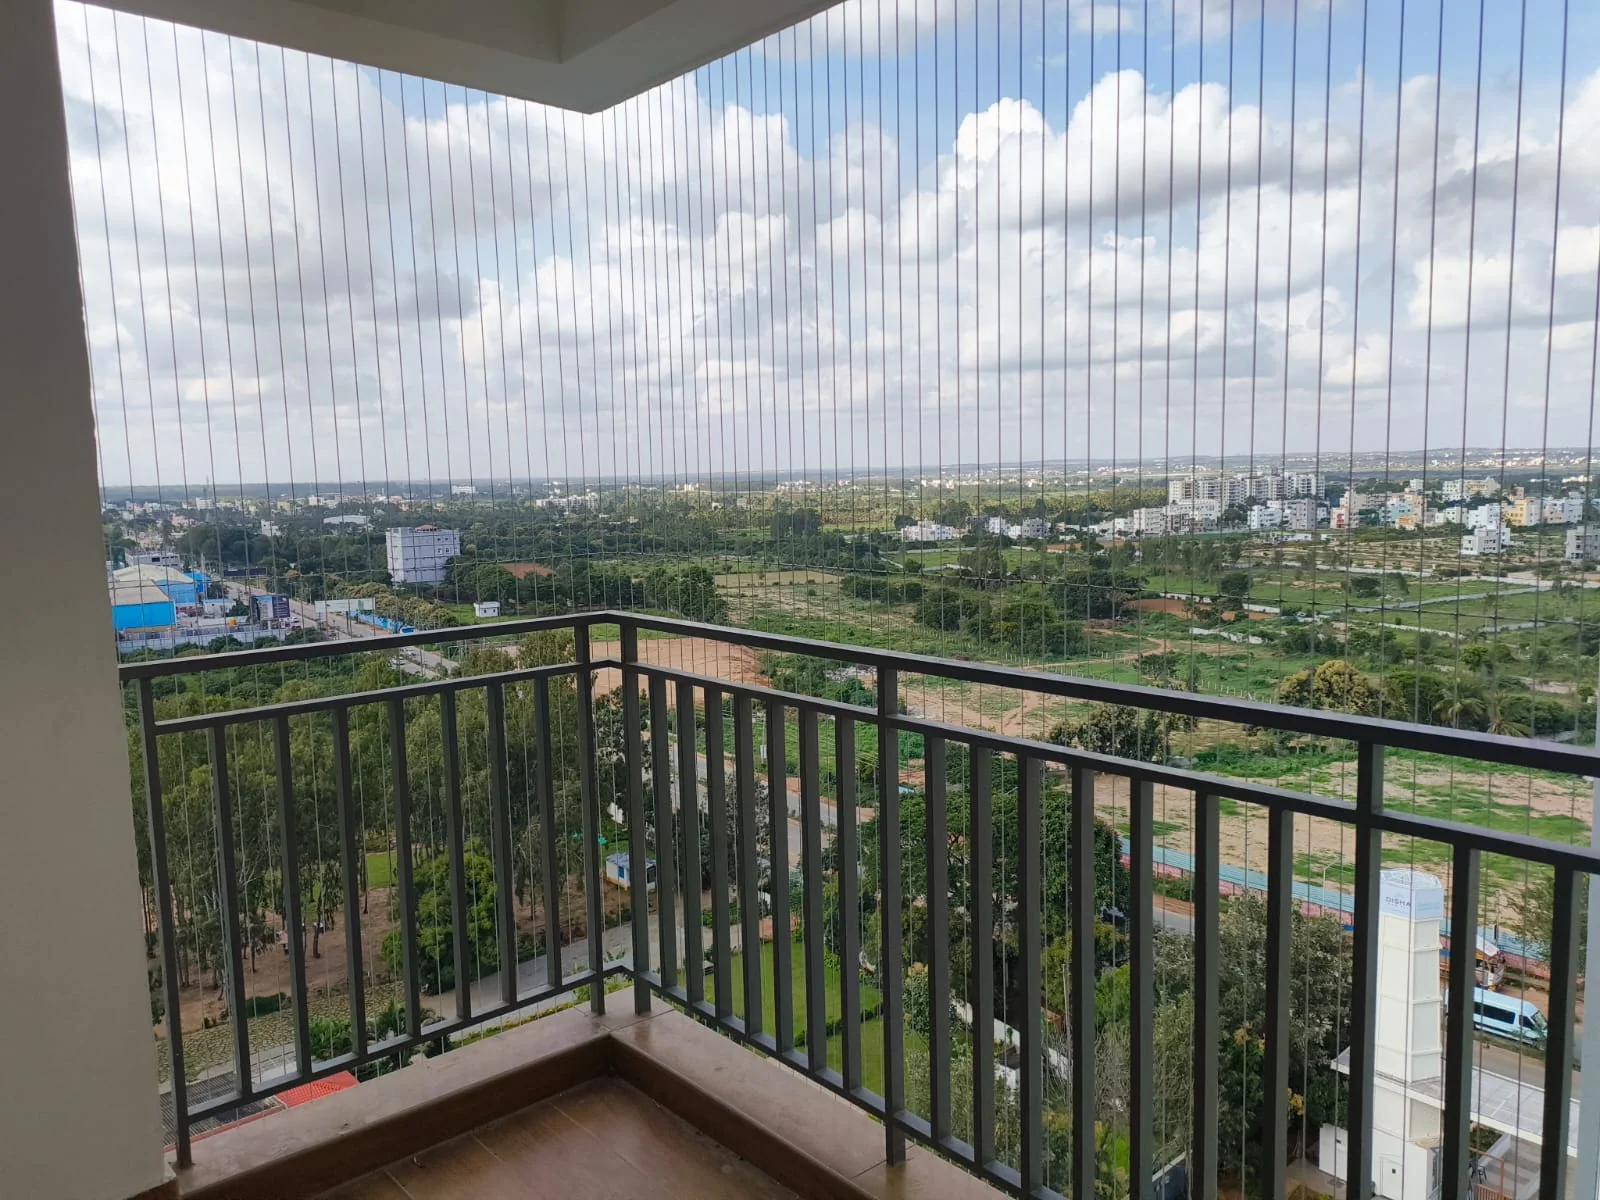

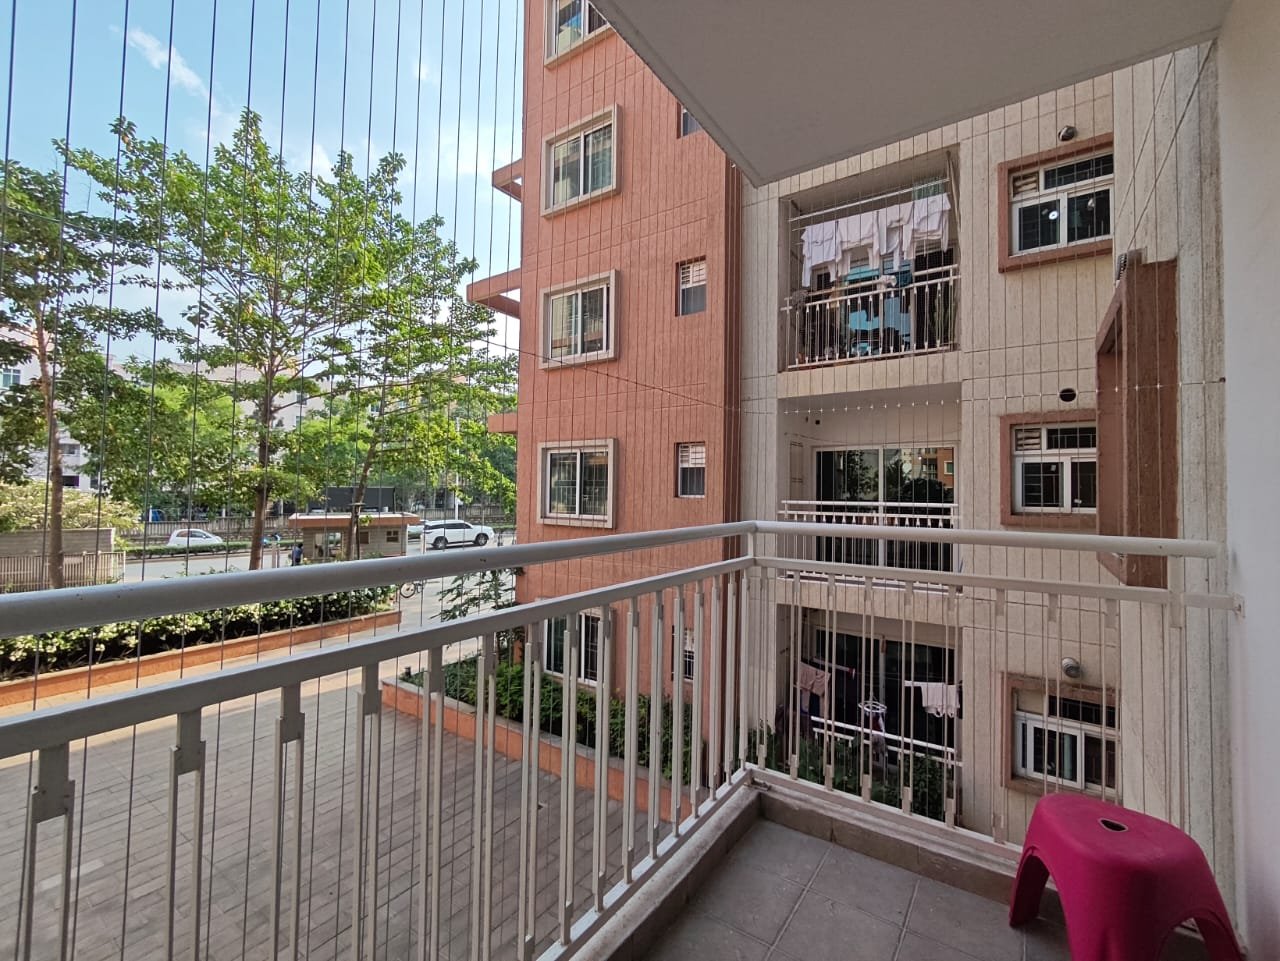

Service Overview
Installation Process for Chennai Homes & Properties
From your initial enquiry to the final pull-test inspection, Marker Enterprises follows a structured, quality-controlled 4-step installation workflow designed to provide hassle-free service, neat craftsmanship, and absolute safety for your home.
AISI 316 marine grade
Free laser measurement
4–6 hour installation
RWA-friendly installation
Book Free Site Inspection
Our Chennai team visits your property with wire samples and takes laser measurements.
Features of Installation Process
- Step 1: Enquiry and initial consultation with fast WhatsApp or phone response
- Step 2: Free on-site laser measurement and structural opening assessment
- Step 3: Transparent itemized quotation and material confirmation
- Step 4: Precision installation, cable tensioning, cleanup, and final customer walkthrough
Benefits of Installation Process in Chennai
Zero hidden costs or sudden price changes
Careful respect for home cleanliness and apartment community guidelines
Our 4-Step Installation Process
-
01
1. Free consultation and requirement discussion
-
02
2. Free on-site survey and laser measurement
-
03
3. Clear quotation and approval
-
04
4. Professional installation and safety sign-off
Where Installation Process Works and What to Specify
Choose a system around the actual opening, intended use, fixing surface and exposure at your property. The examples below help prepare for a measured site assessment.
Common applications
- All residential apartments, villas, and independent properties in Chennai
Materials and components to review
- Rotary Hammer Masonry Drills with Dust Extraction
- Laser Distance Measures & Digital Levels
- Mechanical Cable Tensioning Systems
Plan the specification around the site
For installation process, the right specification begins with the job the installation must perform. Consider the full opening or perimeter, how the area is used day to day, and whether children, pets, residents, staff or visitors will use it. Relevant applications include All residential apartments, villas, and independent properties in Chennai. These details help the installer identify the appropriate layout and avoid selecting a system by appearance alone.
Materials should be reviewed as a complete assembly rather than as a single product label. The options used for this service include Rotary Hammer Masonry Drills with Dust Extraction; Laser Distance Measures & Digital Levels; Mechanical Cable Tensioning Systems. Confirm the material grade or net type, supporting profile or fixing hardware, finish, and compatibility with the existing wall, frame or structure. Where a property faces coastal air, rain or strong sun, discuss exposure and maintenance expectations during the survey instead of assuming every finish performs identically.
Measurements are only one part of a reliable estimate. The team should inspect the fixing surface, corners, access, obstructions and any unusual shapes; clarify the required coverage; and record the selected materials and scope. For an apartment or shared building, check whether the owners' association requires a particular colour, fixing method, work time or approval. A written scope makes it easier to compare quotations on the same basis.
A typical project discussion covers 1. Free consultation and requirement discussion; 2. Free on-site survey and laser measurement; 3. Clear quotation and approval. Ask what preparation is expected from the property owner, how the work area will be accessed, and what final checks will be completed. Installation timing depends on measured area, layout, access and site conditions, so confirm the schedule after inspection rather than relying on a generic duration.
Marker Enterprises arranges site assessments across Chennai, including Adyar, Besant Nagar, Thiruvanmiyur, Velachery, Madipakkam, Medavakkam, Pallikaranai, Perungudi, Thoraipakkam, Sholinganallur, T. Nagar, Nungambakkam, Anna Nagar, Porur, Tambaram, Chromepet, OMR, ECR, Vadapalani, Ambattur, Kolathur, Perambur, Pallavaram, Ashok Nagar, Mogappair, Nanganallur, Keelkattalai, Perumbakkam, Sithalapakkam, Kotturpuram, Egmore, Thousand Lights, Chetpet, Kilpauk, Royapettah, Triplicane, Chintadripet, Anna Salai, Mylapore, Alwarpet, Mandaveli, Raja Annamalaipuram, MRC Nagar, Valasaravakkam, Virugambakkam, Koyambedu, Avadi, Poonamallee, Ramapuram, Manapakkam, Iyyappanthangal, Thirumullaivoyal, Padi, Nolambur, Saligramam, K. K. Nagar, Nerkundram, Madhavaram, Tiruvottiyur, Manali, Tondiarpet, Royapuram, Washermanpet, Vyasarpadi, Puzhal, Periyar Nagar, Kodungaiyur, Korukkupet, Ennore, Red Hills, Madhavaram Milk Colony, Minjur, Kandanchavadi, Karapakkam, Navalur, Siruseri, Kelambakkam, Neelankarai, Palavakkam, Injambakkam, Akkarai, Uthandi, Padur, Semmenchery, Kanathur, Muttukadu, Egattur, Thazhambur, Pammal, Anakaputhur, Selaiyur, Perungalathur, Vandalur, Guduvanchery, Maraimalai Nagar, Sembakkam, Chitlapakkam, Hasthinapuram, Irumbuliyur, Peerkankaranai, Mudichur, Mannivakkam and surrounding neighborhoods. Share your locality, a short description of the requirement and available site photographs when requesting an appointment. The visit can establish practical options for your property and provide a quotation based on the inspected work.
Before approving work, make sure the estimate explains the coverage, materials, fixing approach, exclusions and any care guidance. After installation, keep access points clear and follow the product-specific inspection or cleaning instructions provided by the installer. If you are planning more than one improvement, mention every area during the same enquiry so the survey can record related requirements without treating different systems as interchangeable.
What a careful site assessment should cover
Ask the installer to review the complete boundary or opening, not just one convenient measurement. Corners, returns, uneven reveals, nearby pipes, shutters and existing fixtures can change how a system is laid out. The fixing substrate must also be checked: the proposed anchors and profiles need to suit the actual surface and the loads expected for the intended application. If any part of the structure is damaged, loose or unfinished, resolve that condition before installation is scheduled.
For a home project, describe who uses the space and what needs to remain accessible. A balcony used by children or pets, a window that must open for ventilation, a shared duct that needs periodic access, and a sports enclosure all have different priorities. Confirm any desired spacing, visibility, ventilation, access or containment requirements during the survey. The final specification should explain what the installation is intended to do and where its limits are; it should not be treated as a replacement for supervision, building maintenance or other required safety measures.
Compare scope and arrange the work
When comparing estimates for installation process, check that each one covers the same measured area and names the same materials, profile or mesh, hardware, finish and installation tasks. Project cost can depend on dimensions, shape, number of openings, material selection, working height, access and preparation required. Ask for those factors to be explained rather than comparing only a headline rate. Record whether removal of old fixtures, civil repairs, special access equipment or association permissions are included or outside the stated scope.
Before the appointment, clear loose objects from the work zone and arrange access to the relevant rooms, balcony or common area. Tell the team about fragile finishes, concealed services, restricted hours and other contractors working on site. At handover, review the completed coverage, ask which parts need routine inspection, and keep the written product or care information with your property records. Any warranty, maintenance interval or performance commitment should be confirmed in the quotation or supplied product documentation for the specific installation.
In shared buildings, coordination is part of the project plan. Confirm who can authorize work on a common facade or service area, whether neighbors or facility staff need advance notice, and how materials will be moved to the work location. For occupied homes, agree which rooms need access and how furniture or personal belongings should be protected. A clear appointment plan reduces avoidable delays and helps the installer complete the agreed work with fewer interruptions.
Keep the final scope and product details after completion, including any care instructions supplied for the installed materials. If you later add another opening or change how the space is used, request a fresh assessment rather than altering cables, nets or fittings yourself. The suitability of an existing installation depends on its original specification and current site condition. Periodic visual checks and prompt attention to loose, damaged or obstructed parts are sensible maintenance steps; follow the product-specific guidance provided at handover.
It is also helpful to decide which outcomes matter most before selecting a configuration. Some properties prioritize appearance and an open view; others need defined spacing, access, airflow, containment or a robust boundary for regular use. These requirements can influence the position of the installation, the supporting components and the way a work area is finished. Explain any non-negotiable requirements early, and ask the surveyor to note them in the estimate so that the agreed design can be checked against the intended use.
For larger or multi-opening projects, ask for each area to be identified separately in the scope. A room-by-room or zone-by-zone list makes it clear which windows, balconies, structures or shared spaces are included and helps plan phased work if access is limited. It also gives the property owner a practical reference for arranging permissions and reviewing completion. Keep photographs of the finished work with the written material and care details, particularly when a building manager or association will need project records.
Use the site assessment to resolve practical questions before work begins: where technicians can stage tools, whether ladders or other access arrangements are needed, which surfaces must remain undamaged, and how the work area will be kept clear. In a multi-storey building, confirm visitor entry and lift or service access with the facility team. If weather or another contractor could affect the schedule, agree how a revised appointment will be handled. These details are especially useful when the project covers several residents or shared areas.
Finally, review the proposed result against the purpose of the installation, rather than relying only on a photograph or product name. Ask the installer to explain the chosen layout and any limitations that follow from the opening, substrate or surrounding structure. A clear conversation at survey stage supports a realistic quote, a better coordinated installation and a useful handover for whoever maintains the property.
Installation Process in Chennai Areas & Suburbs
Explore installation process service information for each listed Chennai neighborhood. Every link opens the local page at the matching service section; final availability, measurements and installation scope are confirmed for the property during assessment.
South Chennai
- Installation Process in Adyar
- Installation Process in Besant Nagar
- Installation Process in Thiruvanmiyur
- Installation Process in Velachery
- Installation Process in Madipakkam
- Installation Process in Medavakkam
- Installation Process in Pallikaranai
- Installation Process in Perungudi
- Installation Process in Thoraipakkam
- Installation Process in Sholinganallur
- Installation Process in Nanganallur
- Installation Process in Keelkattalai
- Installation Process in Perumbakkam
- Installation Process in Sithalapakkam
- Installation Process in Kotturpuram
Central Chennai
- Installation Process in T. Nagar
- Installation Process in Nungambakkam
- Installation Process in Egmore
- Installation Process in Thousand Lights
- Installation Process in Chetpet
- Installation Process in Kilpauk
- Installation Process in Royapettah
- Installation Process in Triplicane
- Installation Process in Chintadripet
- Installation Process in Anna Salai
- Installation Process in Mylapore
- Installation Process in Alwarpet
- Installation Process in Mandaveli
- Installation Process in Raja Annamalaipuram
- Installation Process in MRC Nagar
West Chennai
- Installation Process in Anna Nagar
- Installation Process in Porur
- Installation Process in Vadapalani
- Installation Process in Ambattur
- Installation Process in Mogappair
- Installation Process in Valasaravakkam
- Installation Process in Virugambakkam
- Installation Process in Koyambedu
- Installation Process in Avadi
- Installation Process in Poonamallee
- Installation Process in Ramapuram
- Installation Process in Manapakkam
- Installation Process in Iyyappanthangal
- Installation Process in Thirumullaivoyal
- Installation Process in Padi
- Installation Process in Nolambur
- Installation Process in Saligramam
- Installation Process in K. K. Nagar
- Installation Process in Nerkundram
Southern Suburbs
- Installation Process in Tambaram
- Installation Process in Chromepet
- Installation Process in Pallavaram
- Installation Process in Pammal
- Installation Process in Anakaputhur
- Installation Process in Selaiyur
- Installation Process in Perungalathur
- Installation Process in Vandalur
- Installation Process in Guduvanchery
- Installation Process in Maraimalai Nagar
- Installation Process in Sembakkam
- Installation Process in Chitlapakkam
- Installation Process in Hasthinapuram
- Installation Process in Irumbuliyur
- Installation Process in Peerkankaranai
- Installation Process in Mudichur
- Installation Process in Mannivakkam
OMR and ECR
- Installation Process in OMR
- Installation Process in ECR
- Installation Process in Kandanchavadi
- Installation Process in Karapakkam
- Installation Process in Navalur
- Installation Process in Siruseri
- Installation Process in Kelambakkam
- Installation Process in Neelankarai
- Installation Process in Palavakkam
- Installation Process in Injambakkam
- Installation Process in Akkarai
- Installation Process in Uthandi
- Installation Process in Padur
- Installation Process in Semmenchery
- Installation Process in Kanathur
- Installation Process in Muttukadu
- Installation Process in Egattur
- Installation Process in Thazhambur
North Chennai
- Installation Process in Kolathur
- Installation Process in Perambur
- Installation Process in Madhavaram
- Installation Process in Tiruvottiyur
- Installation Process in Manali
- Installation Process in Tondiarpet
- Installation Process in Royapuram
- Installation Process in Washermanpet
- Installation Process in Vyasarpadi
- Installation Process in Puzhal
- Installation Process in Periyar Nagar
- Installation Process in Kodungaiyur
- Installation Process in Korukkupet
- Installation Process in Ennore
- Installation Process in Red Hills
- Installation Process in Madhavaram Milk Colony
- Installation Process in Minjur
Central-West Chennai
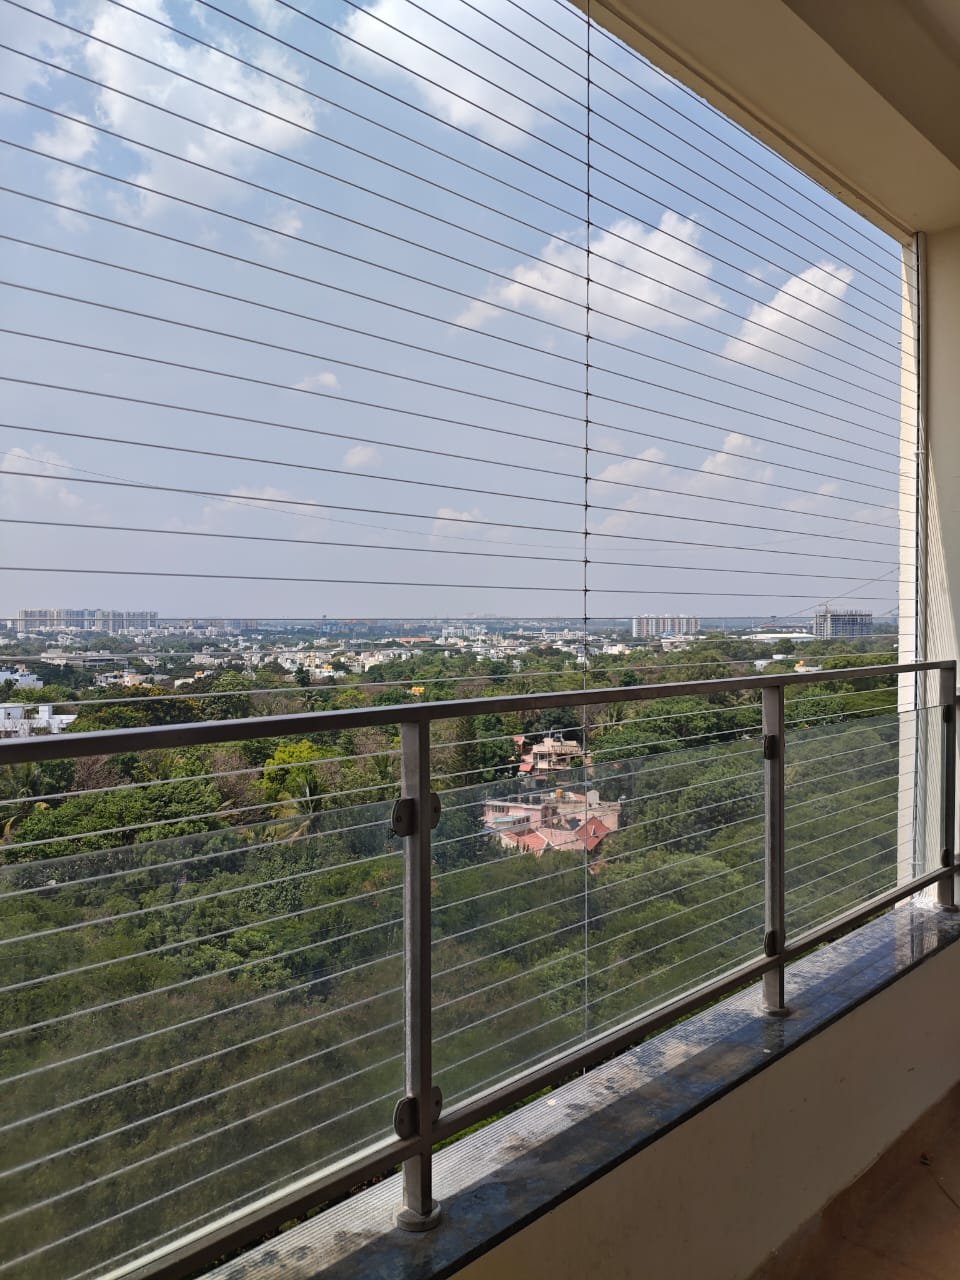

Common Questions About Installation Process
Do I need to be present during the entire installation?
We recommend someone being present at the start to confirm openings and at the end for the final inspection and sign-off. The installation itself is handled autonomously by our trained team.
What should I check before choosing installation process?
Start with the opening or area to be protected, the people or activity the installation must accommodate, the condition of the fixing surface, and any building or association requirements. A site visit helps confirm measurements and suitable materials before a quote is prepared.
What information helps prepare a quote for installation process?
Share your Chennai locality, the number and approximate size of the openings or areas, intended use, and clear photographs if available. Final material quantities and installation details are confirmed after site measurement.
Can this service be planned with other safety work at my property?
Yes. A single inspection can record different openings or areas that need attention. Each installation is assessed separately so materials, fixing points, and the scope of work are clear in the estimate.
How do I arrange an inspection for installation process in Chennai?
Contact Marker Enterprises with your locality and a brief description of the project. The team can discuss the site visit, check access and fixing surfaces, review material options, and prepare an itemized quotation for your approval.
Explore Complementary Safety Installations
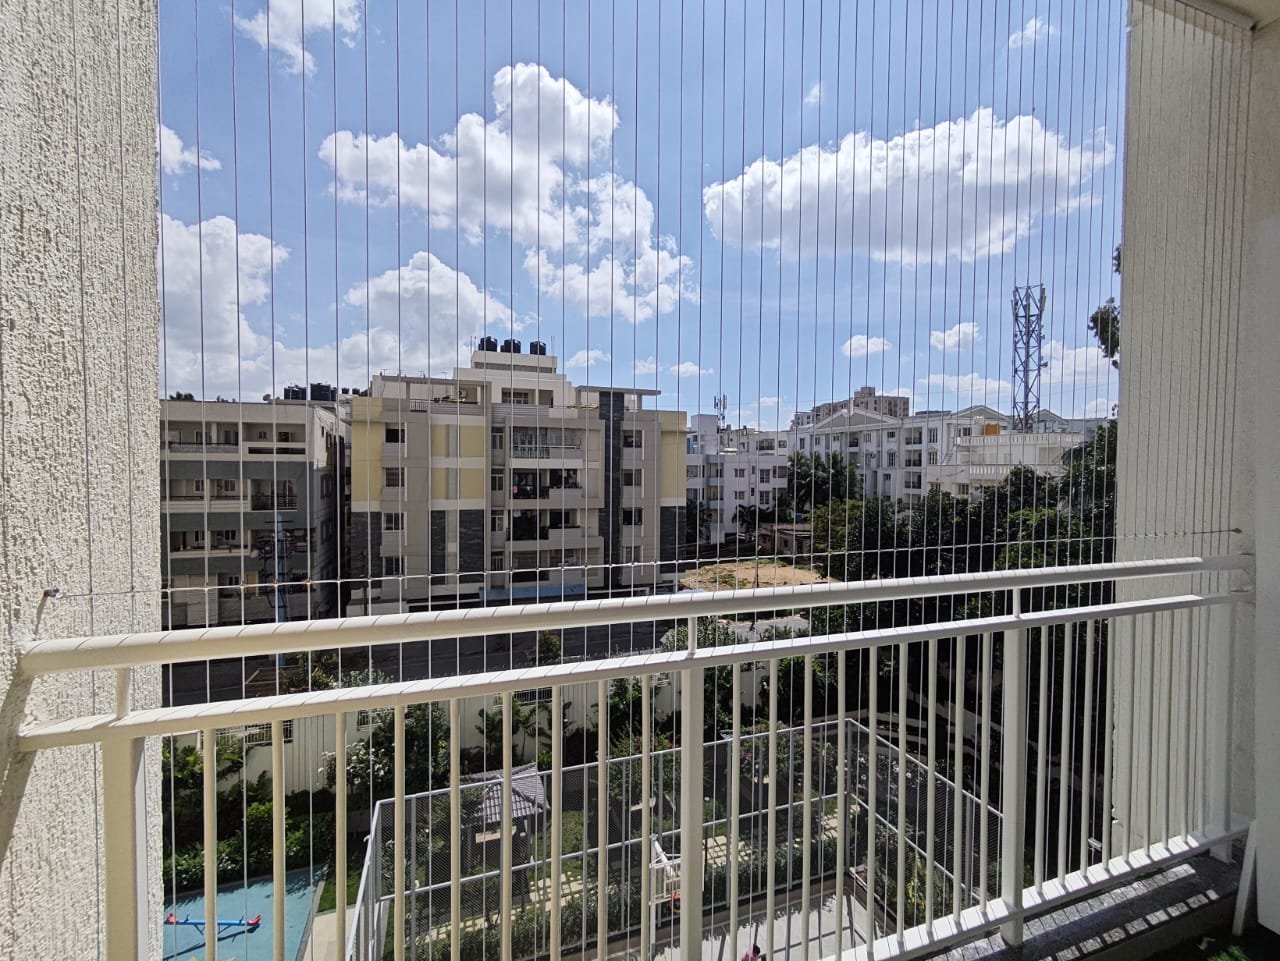
Invisible Grill Installation
Professional on-site measurement, certified structural anchoring, and precision cable tensioning.
Learn more →
Materials and Specifications
Technical specifications of AISI 316 marine-grade steel cables, nylon jackets, and aluminum tracks.
Learn more →
Invisible Grills for Balconies
Sleek stainless steel invisible grills preserving open balcony views while securing living spaces.
Learn more →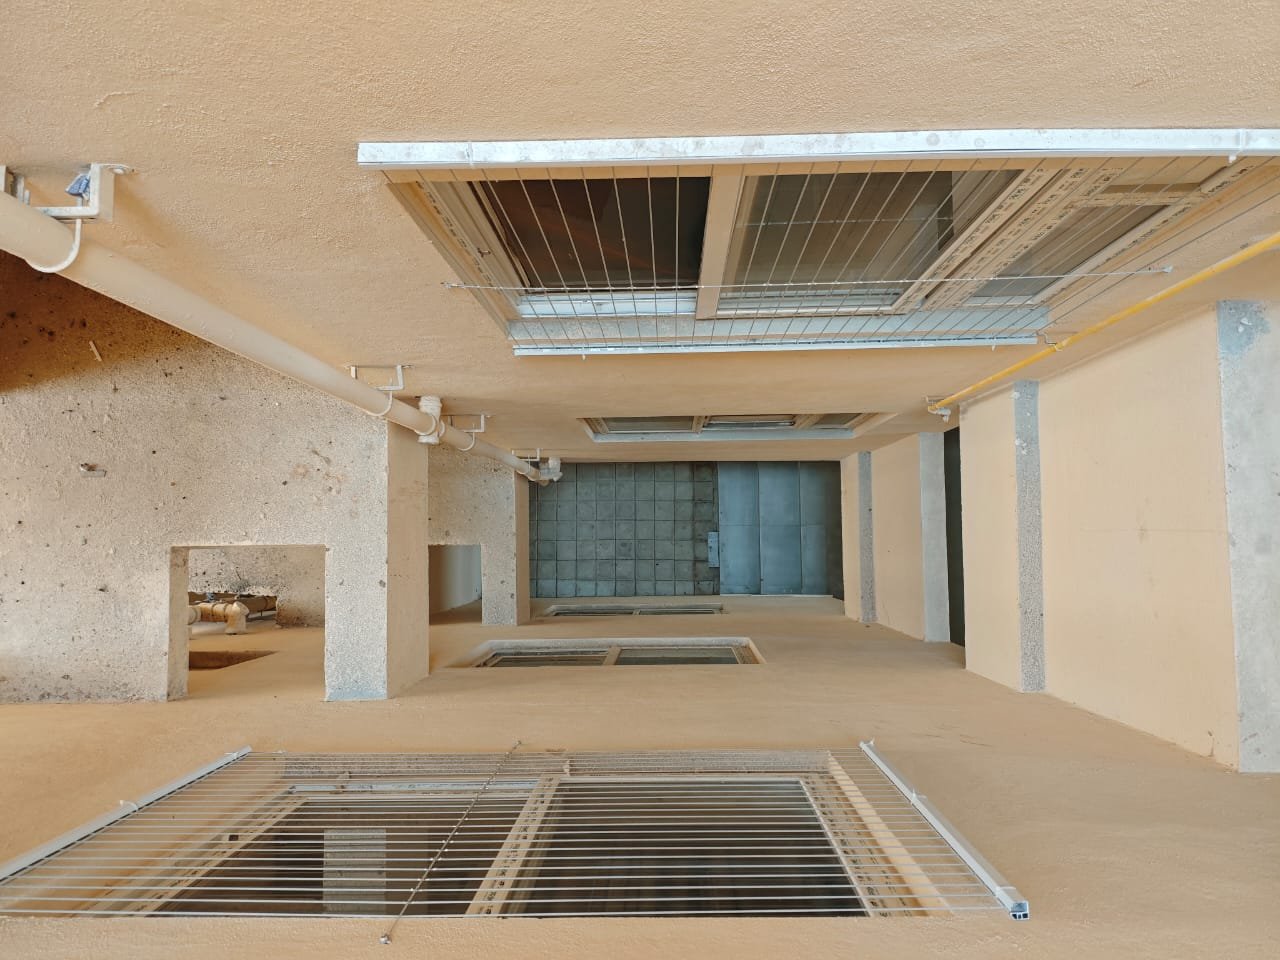
Invisible Grills for Windows
Secure, elegant window invisible grills for bedrooms, living rooms, and open window ledges.
Learn more →
Apartment Invisible Grills
Association-friendly safety solutions designed specifically for Chennai apartment communities.
Learn more →
High-Rise Invisible Grills
Engineered safety systems built to withstand high wind pressures on upper floor apartments.
Learn more →